Showing posts with label Demo Event Cards. Show all posts

Tuesday, October 20, 2015

Fall Demo Event Share

Good Morning Stamp Friends!

I have some more awesome projects to share. I went to a Fall Demo Event a few weeks back and the projects were outstanding!  We could choose any stamp set from the mini catalog for our projects.

Terese O.

Tricia R.

Christin R.

Melanie H.

Margaret H.

Margaret H.

Sandi F.

Sandi F. (inside- fits gift card)

Margaret H.

And here is my project! I chose Thanksgiving. 


Supplies
Stamps: Happy Scenes & Hardwood
Paper: Chocolate Chip, Crumb Cake & Whisper White
Ink: Chocolate Chip, Pumpkin Pie, Crushed Curry, Cajun Craze, Cherry Cobbler & Old Olive
Other: Big Shot, Hearth & Home Framelits Dies, Into the Woods Elements, Mini Glue Dots & Stampin' Dimensionals©

The event was put on by Margaret. So she had a couple extra projects for us to make. She is so very talented. I love all of the projects we made. Thank you so much ladies for an awesome event!

Tuesday, October 13, 2015

Fall Shoebox Swap Share

Good Morning Stamp Friends!

I'm sorry it has been so long since I've shared projects on my blog. As many of you know, Windows 98 became obsolete and when that happened, so did the scanner I used to scan the cards that I was sharing on my blog. Therefore, I had to find another way to share them. For the longest time, I've been trying to figure out how bloggers take their photos. Some had good advice, but when I tried, it didn't work for me. Well, I follow Patsy Waggoner's blog. She has a special step-by-step post on how to make your own light box. I took some notes and did some shopping and though my photos aren't perfect, I finally have a way to share project photos again. (Thanks a million, Patsy!!!:) So you should see more posts from me. 

Today I would like to share photos from the Shoebox Swap I participated in over the weekend. Keep in mind that some demos case their projects, so if I share something that you designed, please let me know so I can give you credit. Here are the beautiful cards:

Deb W.

Melinda B.

Karin T.

Sheila S.
 (This one was made with envelope punch board. There are two envelope pockets on the inside. Great for giving to grandparents with photos and/or gift cards.)

Becky F.

TJ G. 

Candi H.

And for my card, I chose to make a Flip card. 


Supplies Used:

Stamps: Thankful Forest Friends
Paper: Early Espresso, Tangelo Twist, Whisper White & Into the Forest DSP
Ink: Pads: Early Espresso for bear, Tangelo Twist for Fox  Markers: Tangelo Twist, Early Espresso, Crumb Cake, Mossy Meadow, Old Olive & Daffodil Delight
Other: Flip Card Framelits Dies, Circle Framelits Dies, 7/8 Scallop Circle & 3/4" Cricle punches, Into the Woods Elements & Stampin' Dimensionals©

What do you think? Aren't they fun?

Thanks so much for coming by today and I hope you'll add me to your reading list if you haven't already. Have a great day!

Sunday, September 29, 2013

Demo Event Share (Part 2)

Hello Stamp Friends!

I'm back with the second half of the photos that I promised of the 3-D items that we made last weekend. In my last post, I shared the card that the hostess, Christin made. I mentioned that I'd be back with a picture of the matching envelope and box that she had for us to make. I LOVE this set!

Christin R


Two other demonstrators made 3-D items. I love this adorable box made by Margaret. I love the way she decorated it. If you look closely, you will see that she decorated the circle around the window of the box with Rhinestones and the tag. I was so excited, because I won a set of these boxes in my door prize bag:)

Margaret H


Next is a gift card holder made by Becky. This was made using the new Envelope Punch Board. The sentiment on the front was made with a belly-band that slips over the closed gift card holder. 

Becky H


The envelope that holds the gift card is the smallest envelope on the punch board. The top of the envelope and corners on the holder were all punched using the top of the Envelope Punch Board:)

When we received the invite for this Demo Event, we were asked to make only Fall and Christmas projects. Christin wound up giving each of us these Halloween gifts. Aren't they great? 

Christin R

Last, I wanted to share how she decorate the Door Prize bags. Isn't this gorgeous? She is such a talented demonstrator. I felt like a kid in a candy shop in her house. There were displays everywhere you looked and I left there so inspired:)

Christin R

Thank you so much, Christin and everyone that participated in this event. I had a great time with all of you and I look forward to doing it again in the Winter:)

Thank you for coming by today! I hope you are having a great weekend:)

Friday, September 27, 2013

Demo Event Share (Part 1)

Good Morning Stampers!

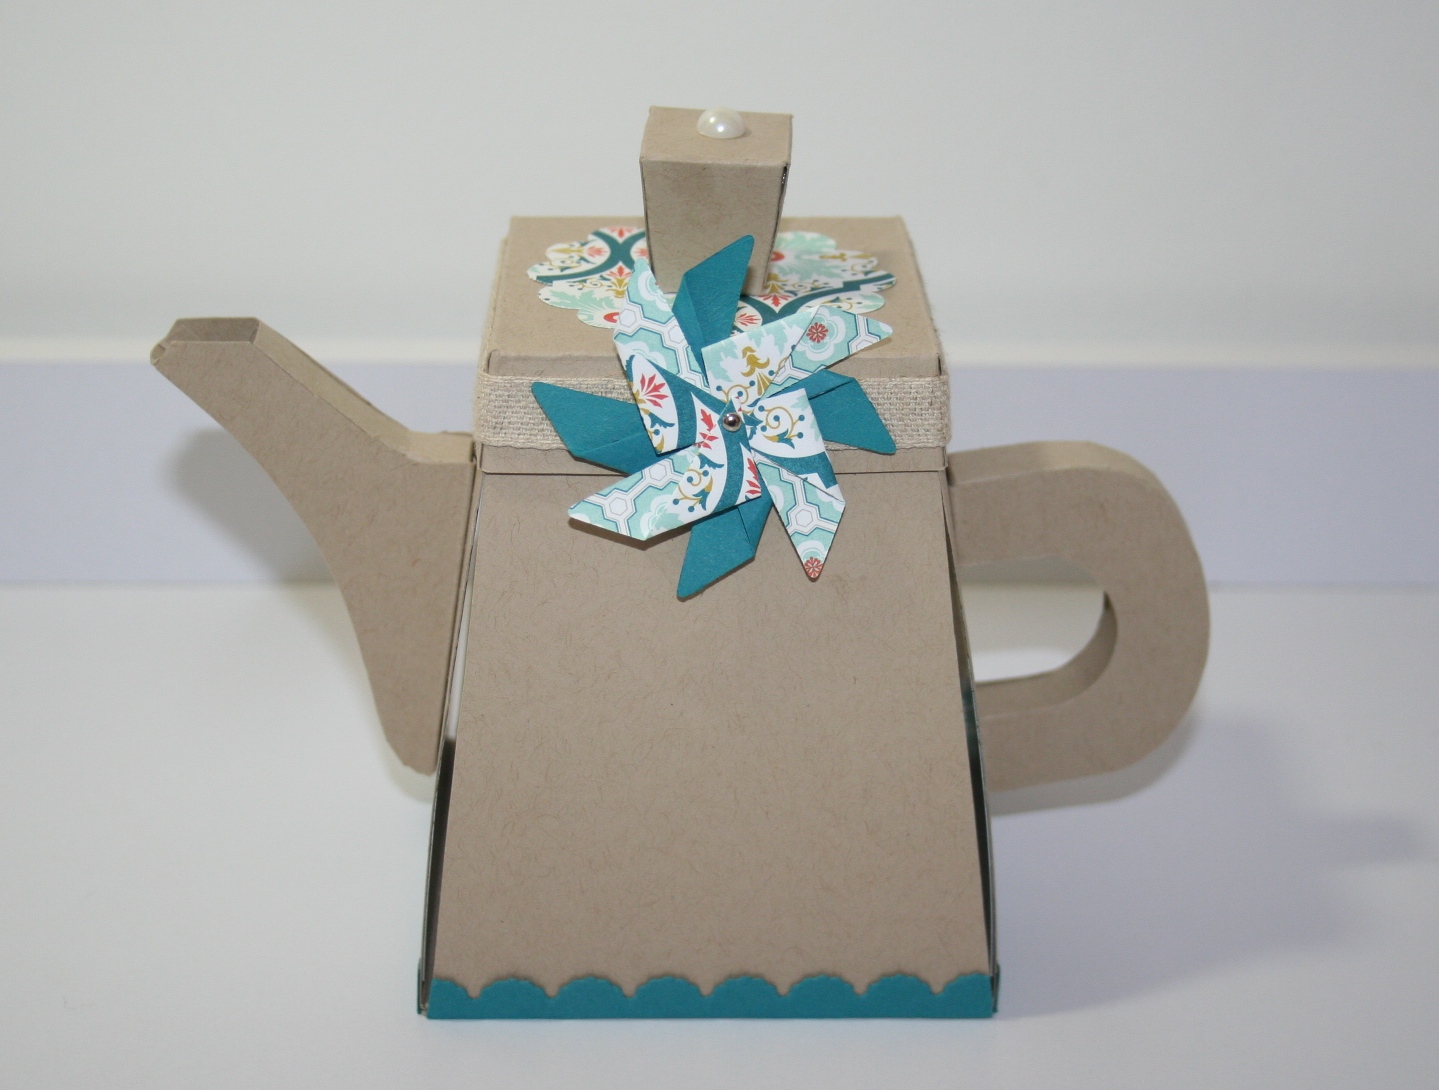
As promised, I have some cards to share with you today from a Demonstrator Event that I attended last weekend. I still need to take photos of the 3-D items, so I'm hoping to share them with you tomorrow.

This first card was made by the hostess, Christin. She also had a matching envelope, using the envelope liner framelits and a beautiful box made with the Tag a Bag Gift Boxes. I will share a picture of the whole ensemble in Part 2 of this Demo Event Share.

Christin R

Amy A


Amy K


Cathleen M (case of Beth McAlexander)


Lori R


Melanie H


Sharron M


Tricia R


And last is my card...


Supplies Used:

Stamps: Harvest of Thanks
Paper: Summer Starfruit, Chocolate Chip, Very Vanilla & Sweater Weather DSP
Ink: Summer Starfruit Ink Pad & Chocolate Chip & Summer Starfruit Stampin' Write Markers
Other: Big Shot, Stripes Embossing Folder, Apothecary Art Framelits, Summer Starfruit 3/8" Stitched Satin Ribbon, Neutrals Candy Dots & Stampin' Dimensionals©

As with every card, I usually start by picking my colors using the Designer Series Paper. I didn't have any Crushed Curry ribbon, so after thinking for a minute, I realized that the Crushed Curry in the DSP looked like Summer Starfruit when I held a piece of the card stock up to it, so that is how I came up with the colors. 

I used the Summer Starfruit ink pad to stamp the "Grattitude" sentiment and then used the Stampin' Write Markers to stamp the main image. In hindsight, I realized I could have stamped it in Summer Starfruit and just went over the parts I wanted in Chocolate Chip and probably could have saved myself some time. I'm famous for doing things the hard way:), but that's how we learn, right?

The Chocolate Chip layer was embossed using the Stripes Embossing Folder and I only embossed the part without the DSP as I wanted the DSP to lay flat. I separated the Designer Series Paper from the embossed stripes with ribbon and used Stampin' Dimensionals© to pop up the main image and the sentiment. I finished it off with a few candy dots, one of my favorite new embellishments:)

Thanks so much for coming by today and I look forward to sharing the rest of the goodies I received at this event on my next post. 

Keep your eyes peeled, because I will be doing a Blog Candy Giveaway for my Stampin' Up! Anniversary, which is October 1st:)

Have a great day!!!

Sunday, March 17, 2013

Stampin' Projects to share Part 3

Hello Stamp Friends!

Today I would like to share the last of the projects, which were made by Amy & I.

First, I would like to share this beautiful card that Amy brought. This card was one of my favorites, ever! I did not own this stamp set, so it went on my wish list. I can't wait for this coming Friday, because I finally ordered it:) Isn't it gorgeous?


Amy also had two 8x8 layouts for us to make. She said she cased the squares from the Valentine's Day one from two different layouts she saw on Pinterest. I love it!


She also had an Easter one for us to make. She designed this one herself. Isn't it awesome? 


And if that wasn't enough, she surprised all of us with this gorgeous shadow box frame to put them in. It opens easily and we can change them out per season. I can't wait to make 8x8's for Halloween & Christmas. Thank you so much Amy!

Last, I would like to share the two projects I brought. A while back, one of the girls in my downline (Cathleen) realized that she had two of these owl dies, so she gave one to our upline (who just LOVES owls). Kathy then created these owls for the members of her downline that attended the Stampin' Up! Leadership Conference. I saw it and had to case it. The only difference between hers & mine was she didn't smash the bottle caps for the eyes, which made hers look like they had eyelashes. Too cute! Here's the owl I brought. I personalized them for everyone.


And my last project is from a tutorial that I purchased from Andrea Walford a while back. Click on her name if you would like to purchase her tutorial. I used the Sale-A-Bration Sycamore Street DSP to design mine. I love the bright colors!


And the inside... the middle flap lifts for two more photos. I wish I had better photos for you. I had to take this outside to get a photo that showed the true colors of this DSP.


I hope that you have enjoyed the projects from our little get-together. Just after this little gathering, I joined a Spring Swap, so I have so much more to share. I hope you will come back tomorrow to see the awesome cards I received.

Enjoy the rest of your weekend and thanks for coming by:)


Saturday, March 16, 2013

Stampin' Projects to share Part 2

Hello Stamp Friends!

I apologize for not making it back yesterday with Part 2. I have an appointment to get my taxes done today and had to get the rest of my paperwork together.

Today I would like to share the projects that Christin & Heather brought for us to make.

Christin brough this beautiful 6x12 for us using the new "Dress Up" framelits. I have to admit... I had no plans to buy these until we made this. That's one thing I can always count on, is having a nice wish list to come back with:)


Isn't this gorgeous? I love all of the little details!

She also brought this adorable box and matching card. I believe she said she got the idea from the Leadership Conference.


Next, I would like to share what Heather brought. She bought this tutorial from Tanya Bell (click on her name for the link to her beautiful teapot. There is also a link under her blog header if you'd like to purchase the tutorial:) to make this adorable Expolding Teapot. Heather caught a little flak, because it's not a project that can be finished quickly. It took us almost 4 hours to make it. Consider, we took breaks for snacks and talked a lot too:) Even in all of that time, I didn't finish mine. I wanted to take my time, so it would look nice. I finished the details on the pot when I got home and just finished my little teacup a couple days ago. I have to say that I love it!


This would be a great Mother's Day gift! You can stamp a message inside and attach photos of you and the grandkids. Super cute!


Thank you Christin and Heather for your beautiful projects!

I appreciate you coming by today and I will be back tomorrow with the projects that were made by Amy & myself.

I hope you have a wonderful Saturday!!!